
What Measures Prevent Vision Inspection Machines from Suffering Deteriorated Detection Accuracy
What Measures Prevent Vision Inspection Machines from Suffering Deteriorated Detection Accuracy
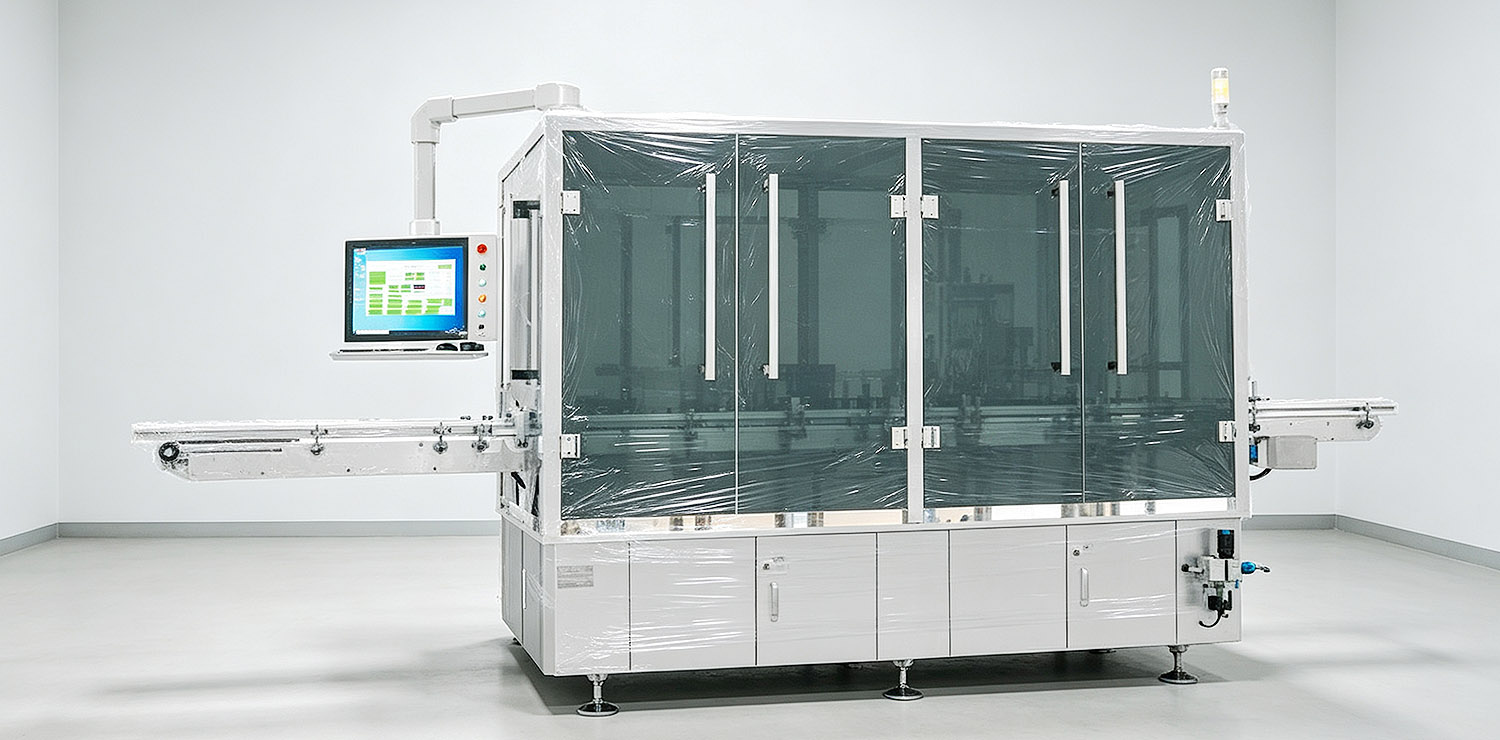
A vision inspection machine is one of the most valuable assets in modern manufacturing. It monitors every product coming off the line and catches defects that human eyes might miss. But this equipment cannot stay at peak performance forever. Over time, cameras drift out of position, lenses collect dust, and lighting conditions change. Once these issues start, the machine's pass‑fail judgments become less reliable, and defective parts can slip through. The good news is that all these problems can be prevented ahead of time. This article covers seven practical steps to keep your vision inspection machine delivering accurate results over the long term. These are not theoretical ideas—they are actionable measures you can put in place right away.
Never Skip Periodic Calibration
Calibration is the foundation of reliable operation for any vision inspection machine. Without it, measurement readings gradually move away from true values, and by the time you notice the problem, you may have already suffered significant losses. Think of cameras and lenses like a weighing scale—if you never zero it, the readings are meaningless. Set up a weekly or bi‑weekly calibration schedule using certified gauge blocks or master reference samples. Operators should log every session completely, so you can spot performance trends early and catch anomalies before they become serious.
After any mechanical adjustment, double‑check the conversion ratio between pixel units and real‑world physical dimensions. Even a tiny shift in the camera's mounting position can cause errors across the entire inspection field. Consistent calibration saves you from expensive rework and keeps your line running smoothly.
Lock in Your Lighting Configuration
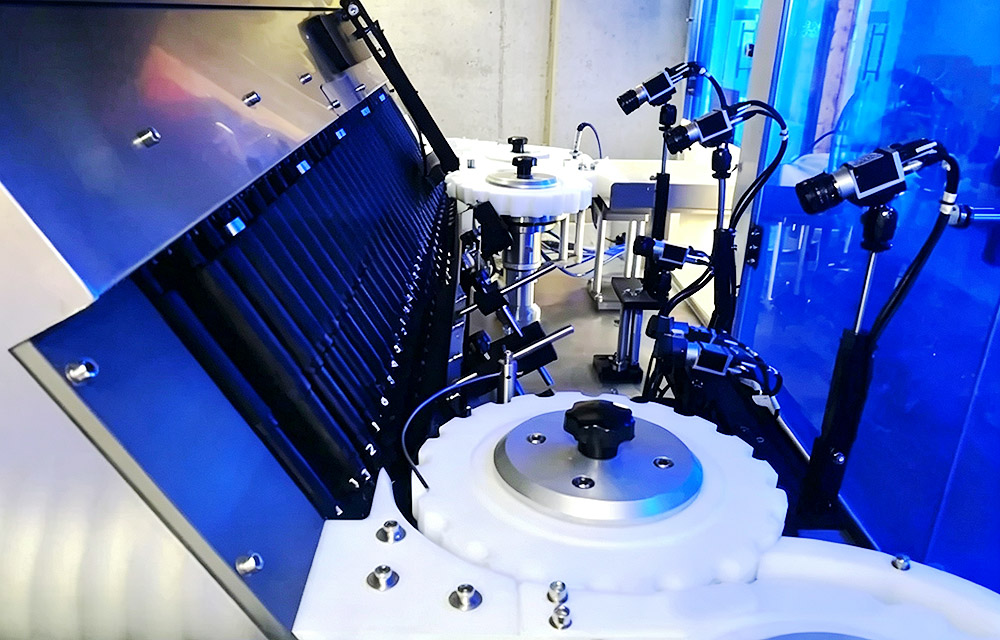
Lighting is critical for machine vision. A vision inspection machine depends on stable, repeatable illumination to identify defects clearly. When lights start flickering, dimming, or changing color temperature, the captured images change too, and inspection results become unreliable.
| Choose high‑quality LED light sources with constant‑current drivers to maintain steady output. Block out natural daylight from windows and avoid interference from overhead workshop lighting. If possible, install an enclosed protective housing around the inspection station to control the environment. Diffused lighting helps eliminate harsh shadows and reduces false inspections caused by software confusion. I always remind clients that getting lighting right solves half of your accuracy challenges—its importance cannot be overstated. Document your lighting intensity parameters and verify the light source status at every shift change to catch issues early. |
 |
Keep Optical Components Spot‑Free
Dust, fingerprints, and oil mist settle on camera lenses and protective covers over time. Even a thin oil film can blur image edges, lower contrast, and hide critical defects from the system.
Make lens cleaning a regular part of your daily preventive maintenance routine. Use lint‑free wipes and optical‑grade cleaning fluid, but never spray cleaner directly onto the lens—apply it to the wipe instead. Improving air filtration around the inspection zone also helps reduce contamination, since preventing dirt is always better than cleaning it afterwards.
Before starting production each day, have staff verify image quality. If the images look hazy, stop immediately and clean the lenses. A five‑minute fix now saves hours of troubleshooting later.
Update Software and Algorithms
Even with perfect hardware, outdated software can drag down detection accuracy. Software bugs, obsolete libraries, and poorly optimized algorithms can cause inconsistent inspection outputs over time.
1. Install firmware updates as soon as your equipment vendor releases them.
2. Review your detection thresholds every quarter because parameters that worked six months ago may no longer fit your current production conditions.
3. When switching to new product variants or different raw material batches, retrain your AI inspection models to keep them accurate.
4. Always back up full parameter sets before any software update, so you can quickly roll back if something goes wrong.
5. Document every software change so your team understands what was adjusted and why.
Timely software updates keep your vision inspection machine intelligent and adaptable to changing production needs.
Secure Mechanical‑Structure Stability
Vibration, bearing wear, and loose mounting brackets are silent causes of declining detection accuracy. Even a fraction of a millimeter shift in cameras or part fixtures between image captures can ruin measurement repeatability.
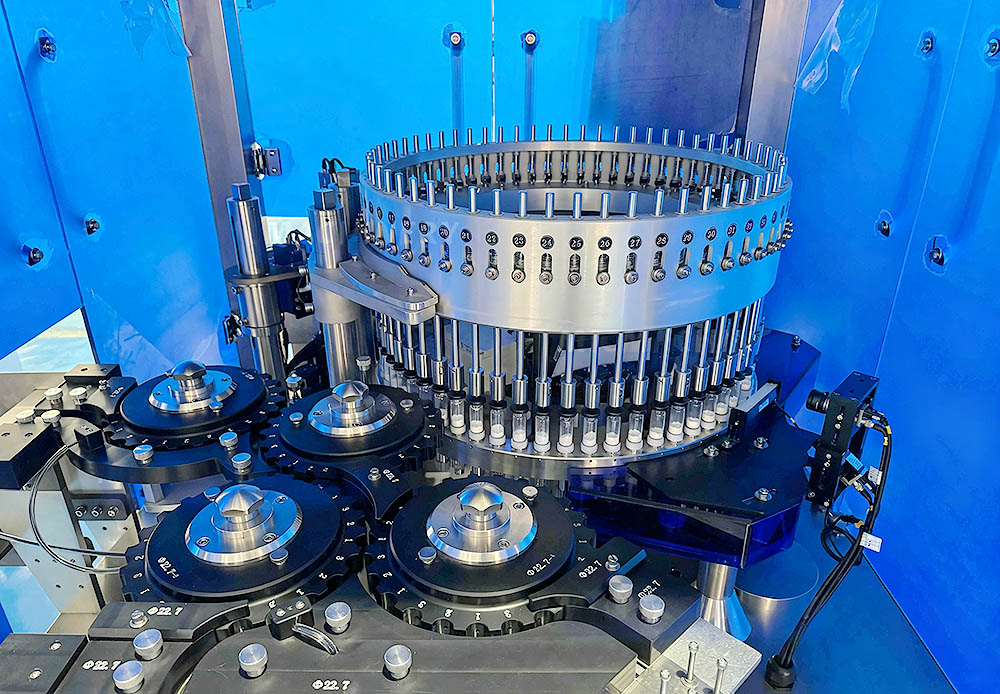 |
1. Inspect conveyor belts and guide rails regularly for wear to prevent workpieces from moving out of position. 2. Tighten all camera mounts monthly and check for physical damage. 3. Isolate the inspection station from vibration generated by heavy machinery wherever possible. 4. Confirm that pneumatic clamps and positioning stops are firm and consistent. 5. Replace worn components like linear guides and ball screws before positioning errors appear. A solid mechanical setup ensures that the images you capture today match those you took yesterday, giving you reliable comparisons over time. |
Deliver Thorough Operator Training
Even the most advanced vision inspection machine depends on its operators for accurate results. Misconfigured regions of interest, incorrect trigger modes, or accidental parameter changes can destroy detection accuracy in seconds.
1. Develop illustrated work instructions to standardize equipment setup and product changeover procedures.
2. Train operators to watch live‑stream images and spot abnormal acquisitions right away.
3. Restrict access to advanced parameter modifications, allowing only trained technicians to make those changes.
4. Host monthly refresher sessions that cover common troubleshooting steps.
5. Encourage operators to report subtle quality anomalies early, so small issues don't turn into major incidents.
Operators who understand the system well are your first line of defense against gradual accuracy loss.
Select the Right Manufacturer Partner from the Very Beginning
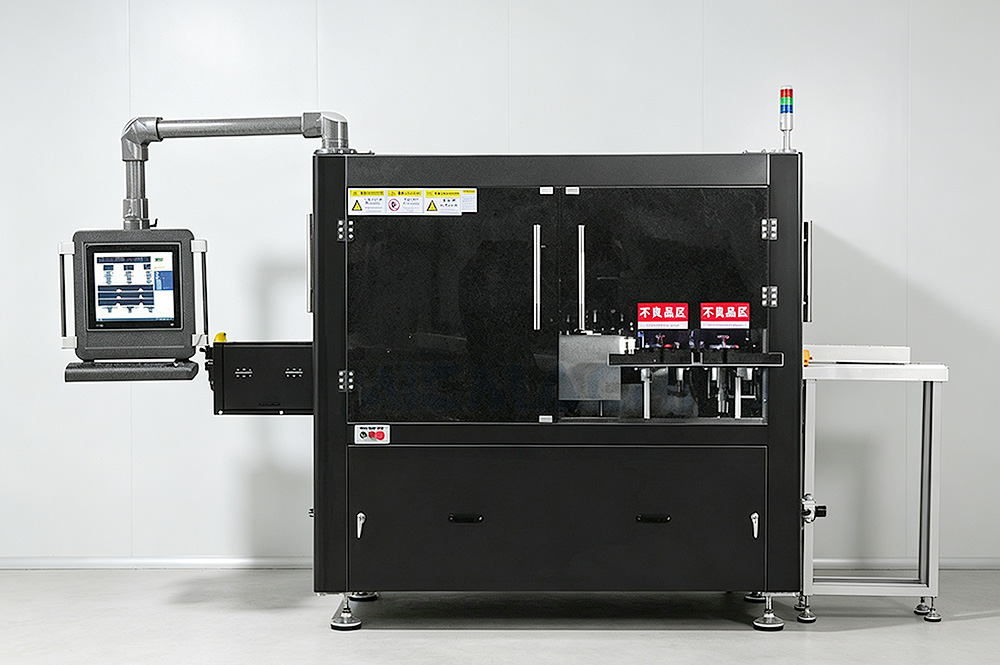
Preventive measures should start long before the equipment arrives at your facility. Partnering with an experienced vision inspection machine manufacturer gives you robust hardware, mature software, and long‑term technical support to sustain accuracy year after year.
| 1. Prioritize suppliers that offer remote diagnostics and firmware upgrade services. 2. Confirm spare parts availability and typical lead times so you can minimize downtime. 3. Require on‑site training during commissioning, rather than just receiving printed manuals. 4. Verify whether the manufacturer provides calibration tools and certified master reference samples. 5. Review industry‑specific case studies and ask for feedback from other customers in your field. A trustworthy manufacturer does not just sell hardware—they work with you to protect your long‑term detection accuracy and production quality. |
 |
Deteriorating detection accuracy never happens overnight. Problems build up bit by bit—dusty lenses, outdated software, loose brackets, and unstable lighting all contribute. The practices we have outlined are not complicated, but they do require strict and consistent execution. Treat calibration, cleaning, lighting management, software updates, mechanical maintenance, and staff training as non‑negotiable operational requirements. When you do this, your vision inspection machine will deliver stable, reliable inspection results every time. Choosing the right original equipment manufacturer also multiplies your effectiveness. Accuracy depends not only on the technology itself but also on the day‑to‑day care and management you provide.
FAQ
1. How frequently should a vision inspection machine be calibrated?
For most production environments, weekly or bi‑weekly calibration is recommended. If you manufacture high‑precision parts or your facility has large temperature swings, perform daily calibration checks. Always calibrate after any mechanical adjustment or camera replacement.
2. Can poor lighting really cause deteriorated detection accuracy?
Yes, absolutely. Unstable lighting changes image contrast and edge contours, which confuses inspection algorithms. Stable, diffused LED lighting with constant‑current control is the best way to prevent this problem.
3. What is the safest way to clean camera lenses?
Use lint‑free optical wipes and lens‑specific cleaning fluid. Apply the fluid to the wipe, never directly to the lens, then wipe gently in circular motions from the center outward. Never use household cleaning agents.
4. How can you detect declining accuracy early before defective parts escape production?
Run periodic inspections using master golden samples and track your false reject rates. Sudden changes in either metric signal that the system is drifting. Review archived images daily to catch subtle quality shifts early.
5. To improve accuracy, should you upgrade hardware or software first?
Start with software adjustments and calibration—they cost less and deliver faster results. Only consider hardware upgrades after you confirm bottlenecks in camera resolution or lens hardware. In most cases, software tuning restores accuracy without major capital investment.